Have you ever spent a week just trying to run the project you just joined? Or does your application not run in production as it did locally? There are a multitude of factors that can contribute to this, which is why Docker offers us a solution with which we can have greater control over these variables across the necessary computers.
With that said, in this article we will see how to make our lives easier by having our entire Ruby on Rails application running on Docker; including any necessary databases.
Prerequisites
To follow this guide, you will need to have Docker installed as well as a project you want to dockerize. If you just want to practice, you can use this example project which requires a connection to Postgres and Redis to function.
Are you impatient? You can clone this branch of the project where the necessary files to run the project inside Docker are already present!
First Comes the Dockerfile
The first thing we will do is create a custom image for our project, so we will create a file at the root of it called Dockerfile
touch Dockerfile
The first line of our file will define the image we will base on, in this case, it will be the official Ruby image, but we will use the Alpine version to have a lighter image as a result.
FROM ruby:3.0.1-alpine
⚠️ Make sure the Ruby version (ruby:X.X.X-alpine) is the same as in your project, or you will have errors when trying to build the image. You can find the version used by your project in your Gemfile.
Next comes the most difficult part of this Dockerfile, installing the necessary dependencies for the project to function; those shown here are the ones that work for our example project, which include the necessary ones to make a connection with Postgres, but you will have to discover which ones are necessary for your project.
FROM ruby:3.0.1-alpine

RUN apk add --update --no-cache --virtual run-dependencies \
build-base \
postgresql-client \
postgresql-dev \
yarn \
git \
tzdata \
libpq \
&& rm -rf /var/cache/apk/*
You can wait to build the image (
docker build .) to check the error printed by Docker, with that you can find out what dependencies are missing 😉
The last line (rm -rf /var/cache/apk/*) deletes the packages of the dependencies we just installed, this will save space in the image.
Next, we need to create a directory inside the container where we can copy the code of our application for its execution, we will do this with the following command inside our Dockerfile.
FROM ruby:3.0.1-alpine

RUN apk add --update --no-cache  --virtual run-dependencies \
build-base \
postgresql-client \
postgresql-dev \
yarn \
git \
tzdata \
libpq \
&& rm -rf /var/cache/apk/*

WORKDIR /docker-rails
Remember to change
docker-railsto your project name!
Just as we gave your project a home inside the container we will create, the gems of the same need a folder too. Therefore, we will inform bundler where to place them through an environment variable.
FROM ruby:3.0.1-alpine

RUN apk add --update --no-cache  --virtual run-dependencies \
build-base \
postgresql-client \
postgresql-dev \
yarn \
git \
tzdata \
libpq \
&& rm -rf /var/cache/apk/*

WORKDIR /docker-rails

ENV BUNDLE_PATH /gems
And although we have already installed the necessary dependencies to run Rails within the container, your project will need some gems and some JavaScript packages to function correctly, we will take care of that as follows.
FROM ruby:3.0.1-alpine

RUN apk add --update --no-cache  --virtual run-dependencies \
build-base \
postgresql-client \
postgresql-dev \
yarn \
git \
tzdata \
libpq \
&& rm -rf /var/cache/apk/*

WORKDIR /docker-rails

ENV BUNDLE_PATH /gems

COPY package.json yarn.lock /docker-rails/
RUN yarn install
COPY Gemfile Gemfile.lock /docker-rails/
RUN bundle install
Now that we have everything necessary for your project to function, we will copy the code to the container inside the folder we created with the WORKDIR command.
FROM ruby:3.0.1-alpine

RUN apk add --update --no-cache  --virtual run-dependencies \
build-base \
postgresql-client \
postgresql-dev \
yarn \
git \
tzdata \
libpq \
&& rm -rf /var/cache/apk/*

WORKDIR /docker-rails

ENV BUNDLE_PATH /gems

COPY package.json yarn.lock /docker-rails/
RUN yarn install
COPY Gemfile Gemfile.lock /docker-rails/
RUN bundle install

COPY . /docker-rails/
Why do we first copy the manifests (package.json, Gemfile, etc.) and then the rest of the project? This avoids having to reinstall the dependencies (since they stay in the cache) after changing the base code and rebuilding the image; this way only when the manifests change will their installation commands be run again.
Finally, we will tell Docker what command to run when we start our container (rails), as well as the arguments for it (s -b 0.0.0.0) and which port to expose so that we can access our application.
FROM ruby:3.0.1-alpine

RUN apk add --update --no-cache  --virtual run-dependencies \
build-base \
postgresql-client \
postgresql-dev \
yarn \
git \
tzdata \
libpq \
&& rm -rf /var/cache/apk/*

WORKROOM /docker-rails

ENV BUNDLE_PATH /gems

COPY package.json yarn.lock /docker-rails/
RUN yarn install
COPY Gemfile Gemfile.lock /docker-rails/
RUN bundle install

COPY . /docker-rails/

ENTRYPOINT ["bin/rails"]
CMD ["s", "-b", "0.0.0.0"]

EXPOSE 3000
The default port over which Rails runs is 3000, but if you have designated another port within your application make sure to expose it correctly.
And with this we have our Dockerfile ready, although we are far from having our application ready. If we build our image with docker build . and try to run it with docker start docker-rails we would encounter an error, since Rails does not find the databases it needs to start correctly; but we will soon take care of that.
Then the docker-compose.yml
To coordinate all the services we need for the correct functioning of our application (in this case 2 databases: Postgres and Redis) we will use docker-compose, this Docker utility will help us create multiple containers from different images, connect them, give them environment variables and even volumes.
We will start by creating a file called docker-compose.yml.
touch docker-compose.yml
And on its first line we will specify which version of the tool we want to use, in this case we will use the most recent at the time of writing this article.
version: '3.8'
Next, we will indicate the services we want docker-compose to run, we will do this under the services label. We will give each service a name, which will be important when we are configuring our image, so make sure to name it in a way that makes sense to you. Let’s start with the Postgres service, which we will call db.
version: '3.8'
services:
  db:
    image: postgres:latest
    container_name: docker-rails-db
    environment:
      - POSTGRES_DB=docker-rails-dev
      - POSTGRES_PASSWORD=password
    ports:
      - 5432:5432
    volumes:
      - 'dbdata:/var/lib/postgresql/data'
YAML files are sensitive to indentation, so make sure everything is in order and indented correctly.
The db tag is the name we gave to the service and within which we will specify all the configuration for it.
The first thing we encounter is image, which as its name indicates is the name of the image we want to use for that service, in this case it is the official Postgres image in its latest version (you can specify a version by replacing latest with another valid version).
Then we encounter container_name, which is also self-explanatory and which will come in handy when checking our containers with docker ps.
environment refers to the environment variables, and if we refer to the Docker Postgres image documentation we can see that the only mandatory variable is POSTGRES_PASSWORD but we will also define POSTGRES_DB to give a custom name to the database that the image creates by default.
⚠️ Be sure to choose a secure password for the database!
ports are the ports that we will need to pass from inside the container to our machine, the ones indicated in the file are the ones that Postgres uses by default.
Finally, the volumes are the persistent information we will need so as not to run the migrations every time we turn on the container, this is because Docker deletes all data once we shut down the information, if you want to learn more about this topic I recommend this section of the documentation.
Now, the next service is Redis but we will not delve much into it as it only has a couple of labels which we have already reviewed, for more information you can visit the official image.
version: '3.8'
services:
  db:
    image: postgres:latest
    container_name: docker-rails-db
    environment:
      - POSTGRES_DB=docker-rails-dev
      - POSTGRES_PASSWORD=password
    ports:
      - 5432:5432
    volumes:
      - 'dbdata:/var/lib/postgresql/data'
  redis:
    image: redis:latest
    container_name: docker-rails-redis
    ports:
      - 6379:6379
Our last service we will call web and it will be the image we have built with our Dockerfile.
version: '3.8'
services:
  db:
    image: postgres:latest
    container_name: docker-rails-db
    environment:
      - POSTGRES_DB=docker-rails-dev
      - POSTGRES_PASSWORD=password
    ports:
      - 5432:5432
    volumes:
      - 'dbdata:/var/lib/postgresql/data'
  redis:
    image: redis:latest
    container_name: docker-rails-redis
    ports:
      - 6379:6379
  web:
    build: .
    image: docker-rails
    container_name: docker-rails-web
    ports:
      - 3000:3000
    depends_on:
      - db
      - redis
    environment:
      - POSTGRES_HOST=db
      - POSTGRES_USER=postgres
      - POSTGRES_PASSWORD=password
      - REDIS_URL=redis://redis:6379
The first new tag we encounter is build, which indicates the directory where our Dockerfile is located; since our Dockerfile is at the root we will only put .; if your Dockerfile is not at the root or has another name it is advisable to read this section of the documentation to make sure Compose finds it.
The image tag in this case will serve to name the image that Compose will build, since build is present it will not go to the repository to look for a pre-built image.
Finally, the depends_on tag will inform Compose that it should not try to start the container until the db and redis services are created, as well as it will connect them internally so that we can access them through a URL (as can be seen in the Redis environment variable) or by their respective credentials (as is the case with Postgres), if you want to learn how Docker handles this you can read about Docker Network.
Now that we have finished with the services, the only thing we must do is list the volumes we will use and which we named in the following way.
version: '3.8'
services:
  db:
    image: postgres:latest
    container_name: docker-rails-db
    environment:
      - POSTGRES_DB=docker-rails-dev
      - POSTGRES_PASSWORD=password
    ports:
      - 5432:5432
    volumes:
      - 'dbdata:/var/lib/postgresql/data'
  redis:
    image: redis:latest
    container_name: docker-rails-redis
    ports:
      - 6379:6379
  web:
    build: .
    image: docker-rails
    container_name: docker-rails-web
    ports:
      - 3000:3000
    depends_on:
      - db
      - redis
    environment:
      - POSTGRES_HOST=db
      - POSTGRES_USER=postgres
      - POSTGRES_PASSWORD=password
      - REDIS_URL=redis://redis:6379
    volumes:
      - .:/app
volumes:
  dbdata:
And that’s it! Our docker-compose.yml is ready, now there’s only one step left to start creating our Docker-contained application.
Out of Sight, .dockerignore Out of Mind
Many times we do not want certain files to be in our Docker image because they are not necessary for its construction (or are generated in it) and only end up making the project larger than it needs to be, such as the node_modules and .git folder.
To save this space, we will create a file called .dockerignore at the root of our project and add these two folders:
echo ".git \n node_modules" >> .dockerignore
For more information on what a .dockerignore file can contain, you can consult the official Docker documentation
Databases 2 Go
Before running the project it will be necessary to create the database that Rails expects, and creating it is so simple that it can be done in a single command.
docker-compose run web db:create
This command tells Docker to use the image (which it will build) to run a command, in this case db:create. Docker, with what is specified in the docker-compose.yml, knows that since web depends on db it will have to run the Postgres instance first, so the database will be created in this container.
Why only
db:createand notrails db:createorrake db:create? In ourDockerfilewe gaverailsas the entry point, so only the parameters are necessary. If we wanted to perform another command inside the container this would have to be through docker exec.
Our Application in a Container
With the database created, there’s only one command left that will run the containers in detached mode and we will be able to see the fruit of our labor.
docker-compose up -d
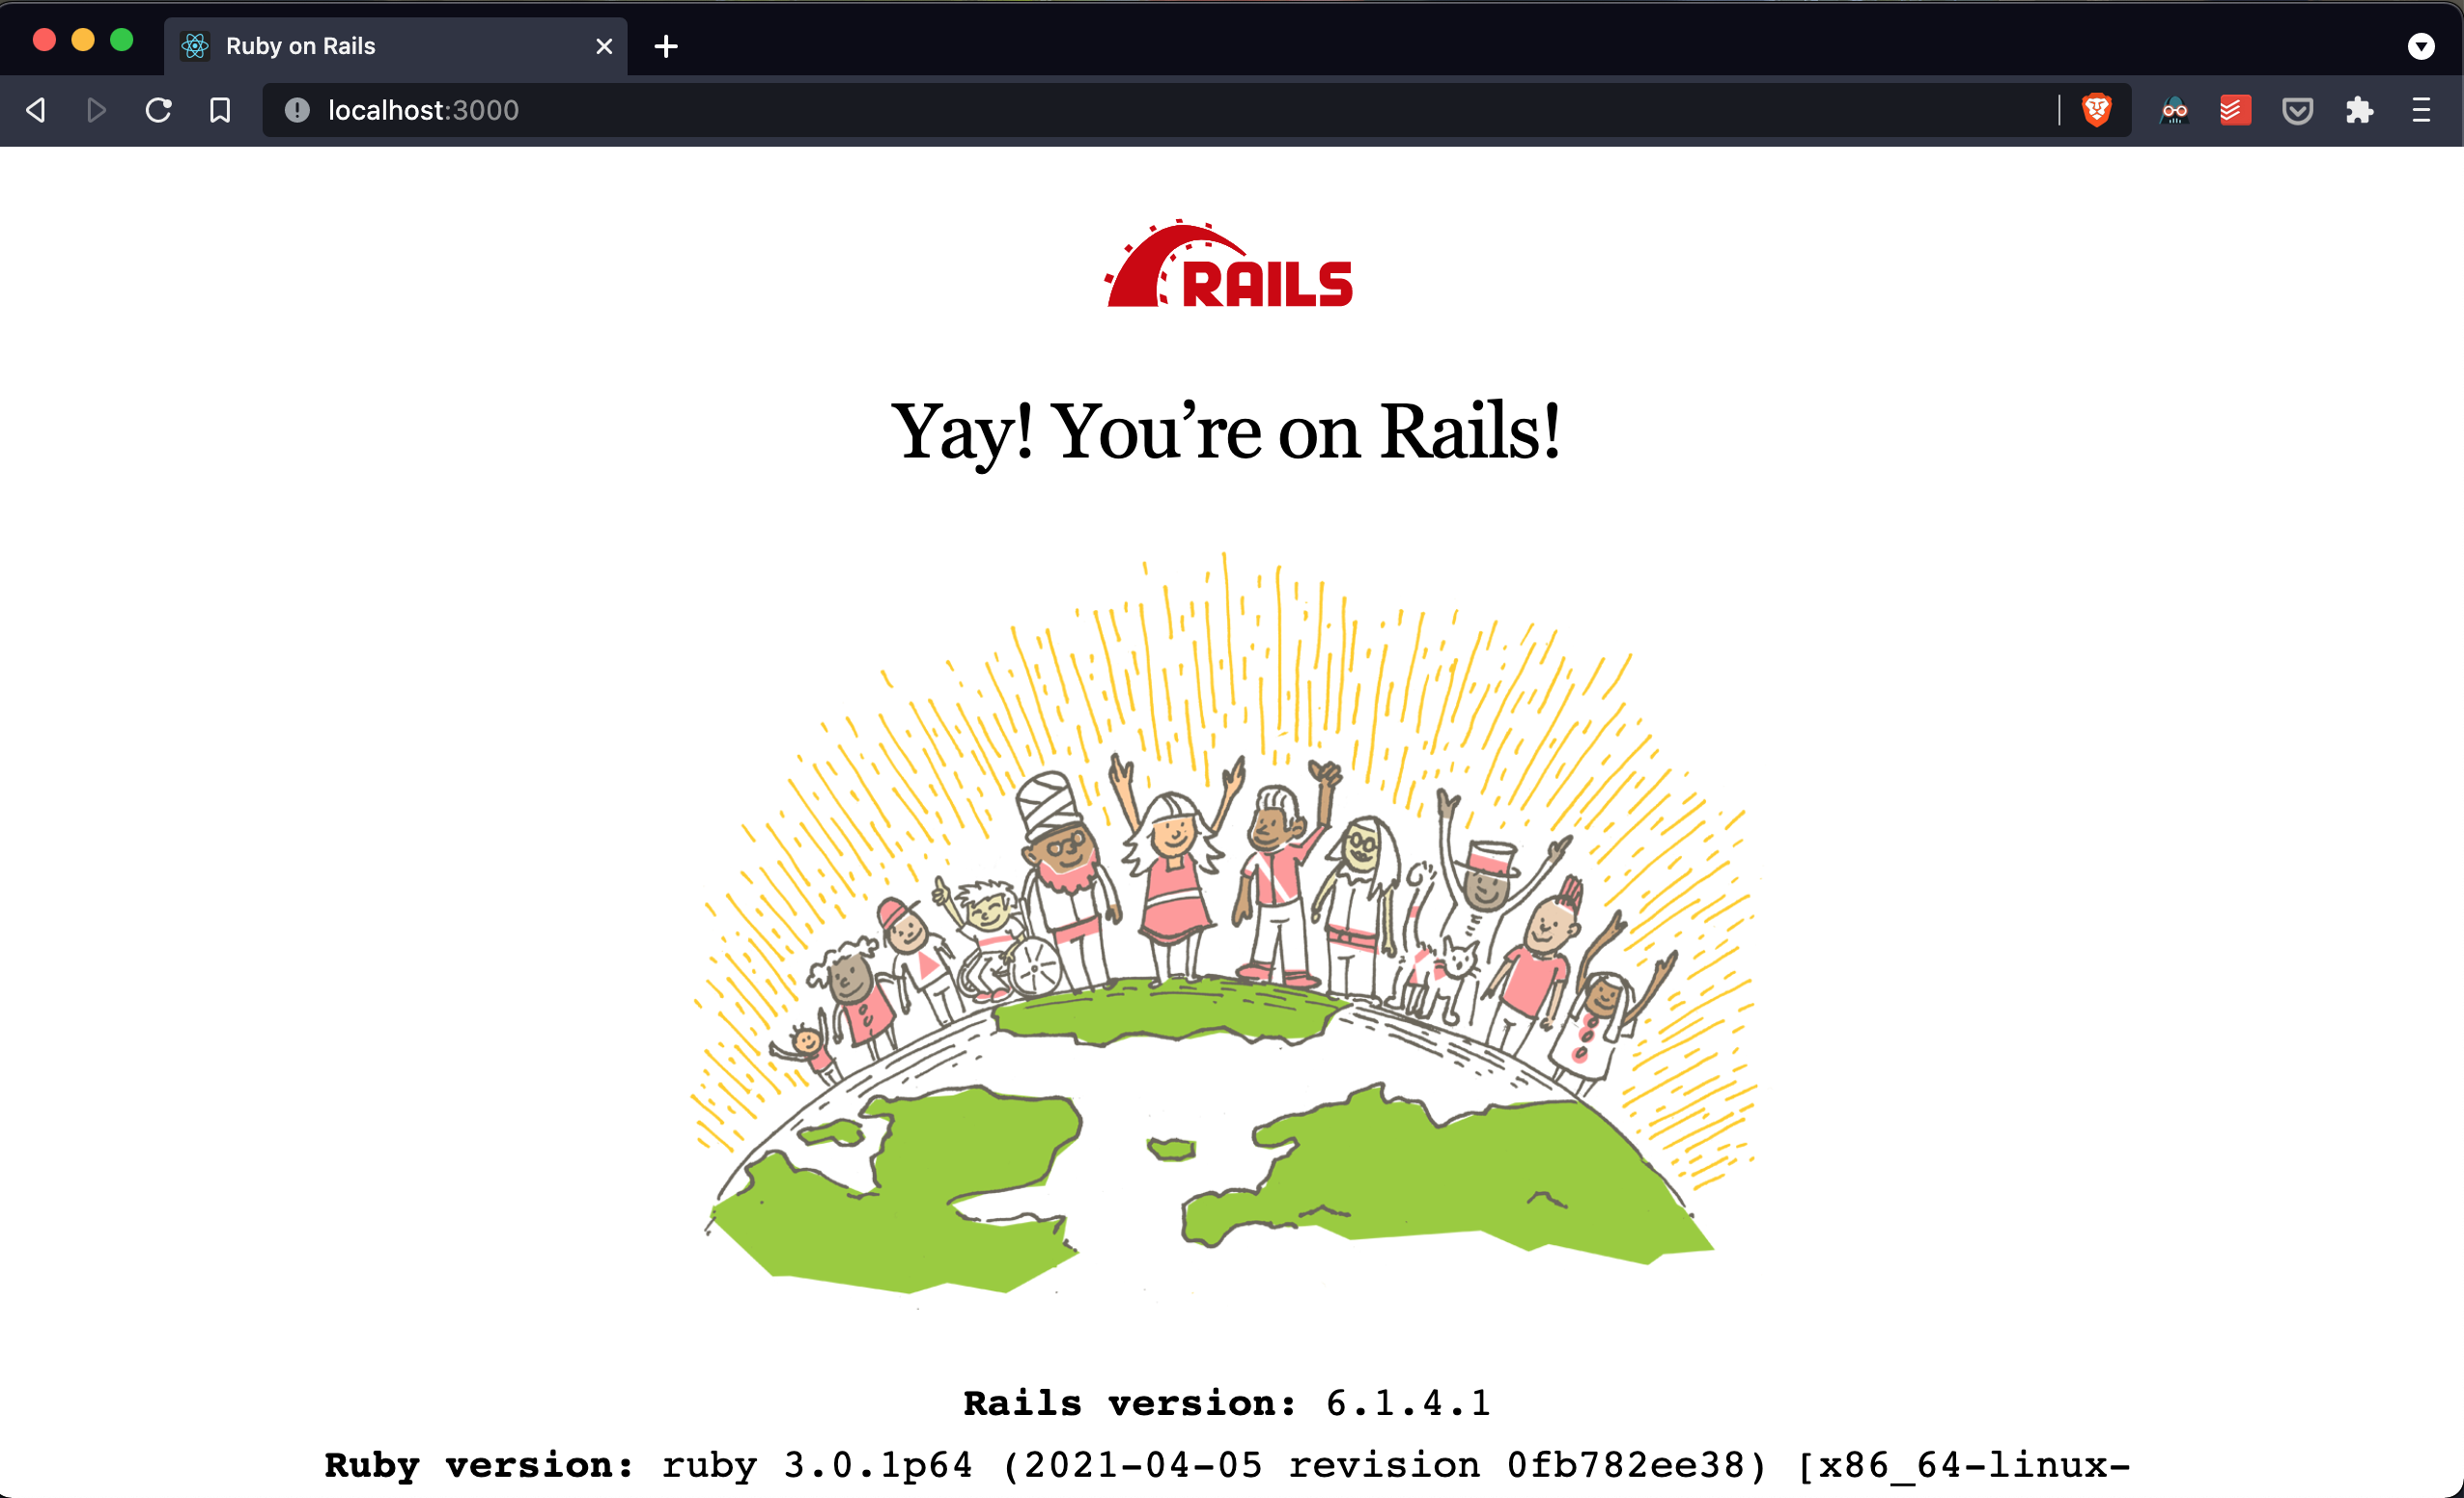
And that’s it! You can now access through your browser to localhost:3000 and see the Rails welcome page.
Conclusion
This whole process may be a bit intimidating at first, especially if you are not familiar with Docker, but the result is a much simpler development environment for everyone involved in the project, as now just by having Docker installed they can start programming; not to mention the benefits that this technology can bring to your production environment when combined with Kubernetes or Docker Swarm.
I hope you found this useful, anything you can contact me and I will respond as soon as possible.
References
「 Writings: Articles Tags: rails docker web development 」